Today is my last post on the microbiome. Here are three recipes that I regularly make. Go on, give them a try! As your confidence grows, you can expand your repertoire using the many recipes and variations of these, online. A little a day, keeps trouble at bay!
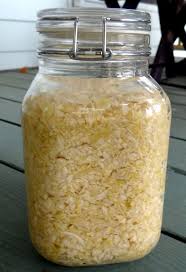
Homemade Sauerkraut
Equipment needed
A large fermentation or mason jar; a large bowl; a rolling pin; a fermentation weight
Ingredients:
- 1 medium head of Cabbage (white or red)
- 1-3 Tablespoon sea salt or Himalayan rock salt (more for a bigger cabbage)
Instructions:
- Finely chop or shred the cabbage. Put it into a large bowl and sprinkle with the salt.
- Pound with a rolling pin for about 10 minutes, until the cabbage has leaked enough cabbage juice to cover itself. If it doesn’t, you can add a little filtered water.
- Transfer the cabbage into a big sterilised fermentation jar, pressing and compacting the cabbage down hard underneath the liquid. If necessary, add a bit of water to completely cover cabbage.
- Place a fermentation weight on top of the cabbage to make sure it is all completely submerged (every last little bit!) This ensures proper fermentation and prevents mould growing.
- Cover the jar with a tight lid. You will need to lift the lid every couple of days to allow the excess gasses to escape (or you can buy specialised lids online).
- Allow to ferment at room temperature (60-70°F is preferred) for at least 2 weeks until desired flavour and texture are achieved.
- Once the sauerkraut is ready, pop it in the fridge in smaller jars with an airtight lid and keep the sauerkraut submerged in its own brine. Enjoy a tablespoon with your meals. The sauerkraut’s flavour will continue to develop as it ages.
Homemade Kombucha Tea
Equipment needed
Large glass jar; muslin cloth; elastic band; glass storage bottle(s)
Ingredients
- Organic Green (or Black) tea bags
- Organic cane sugar or just white granulated sugar
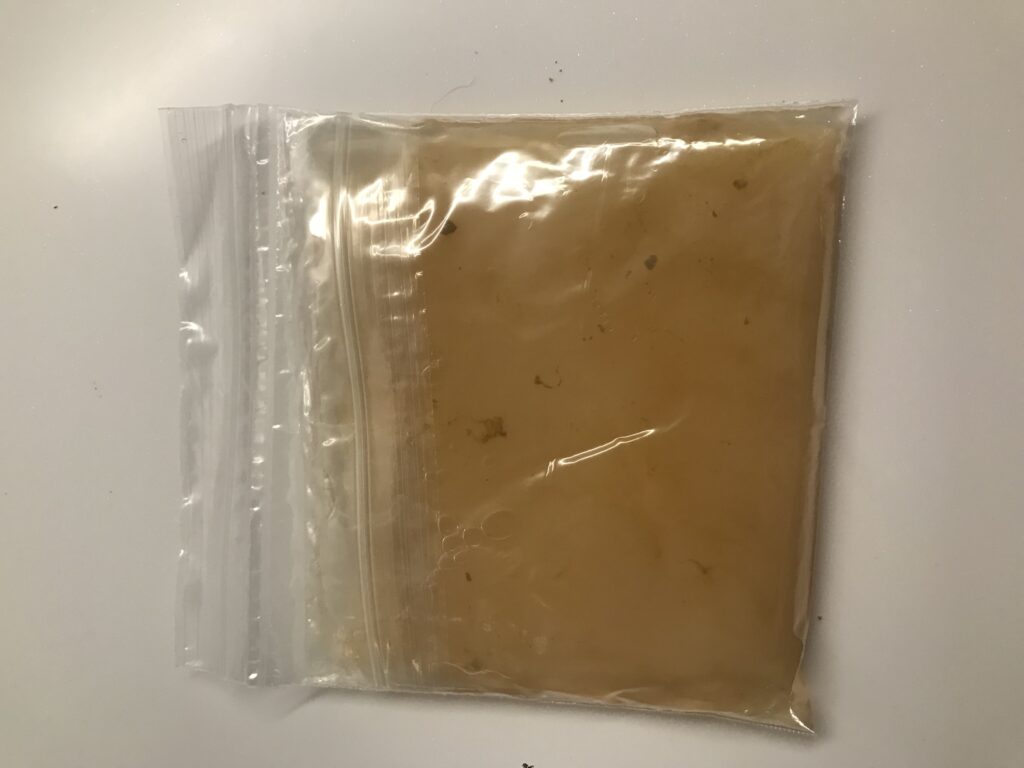
- Kombucha Scooby (Symbiotic Culture of Bacteria and Yeast). Buy online
Instructions:
- Boil a full kettle of water.
- Put 4 tea bags into your clean glass container, then add 130g sugar.
- Pour your boiled water into the glass jar with the tea bags & sugar. Stir and leave to steep for 30 minutes. Then remove the tea bags with a clean spoon.
- When the glass jar is cool to touch (feels the same temperature as your hands), gently add the Kombucha Scooby to the sweet tea. (Put all the contents of the packet, liquid included, into your prepared sweet tea). Your Scooby may float or sink, it doesn’t matter. A new, second Scooby will grow on the surface of the liquid in about 2-4 weeks, depending on how warm your room is, or the season you are making it in.
- Cover your jar with the muslin and secure in place with the elastic band. Place the jar out of direct sunlight at room temperature. Your Kombucha will take about 2 weeks to mature.
- You will need to periodically taste your Kombucha tea to see when it is ready. The more acidic or sharp it tastes the more fermented it is. If it still tastes sweet, then the bacteria haven’t had long enough to convert those sugars into lactic acid. Note the colour will darken and become cloudier the more mature it is.
- When you feel it is ready to drink, pour off the Kombucha tea into a clean glass bottle and put it in the fridge. The longer you leave it in the fridge, the fizzier it will get. It won’t “go-off”. Drink a small glass each day, 5-10 mins before main meals. Build up the quantity you drink slowly, to allow yourself to get used to it.

Please remember to leave the Scooby(s) sitting or covered by about an inch of its brewing liquid. Do not let it dry out. It will last like this for up to 4 weeks. Don’t ever put the actual Scooby in the fridge.
You can now make a new batch of pre-made tea (sugar, tea bags and cooled boiled water) to the jar and Scooby. Or, if you don’t want to make any more, just cover the brewing jar, leaving the Scooby in its own juice.
Over time, the Scooby colony will grow upwards, in successive layers. The oldest layer lies at the bottom and is the darkest layer. You can carefully remove the lowest colony layer (clean your hands very, very thoroughly) and give it to a friend or put it in the compost. Eventually, you may want to buy a completely new Scooby.
Homemade Kefir
Equipment needed
Sieve or strainer; glass container or jar; spoon
Ingredients
- Kefir grains as supplied with some kefir from the bag. I bought mine online.
- 250ml milk – best is full fat organic from grass-fed cows, or also goat’s, almond or coconut
Instructions
- Put the whole contents of the kefir bag into the clean glass container.
- Add your choice of 250ml milk.
- Cover the glass container with a muslin cloth and leave it at room temperature for anywhere between 1-3 days (depending on how warm your room is).
- It will be ready when it looks thick and clumpy. The longer you leave it out, the more tangy and cultured it will become. If it separates into a clear liquid and clumps, it’s definitely ready.
- When it’s ready, pour the liquid kefir through a sieve/strainer set on top of a Pyrex measuring jug or other suitable container. The kefir “grains” should be left behind in the sieve.
- Now put your grains back into your next batch of 250ml milk and start all over again
- Enjoy your Kefir drink – flavour it, or not, as you wish.
If you want to stop making you kefir for a while you still need to keep it alive by feeding it new milk. You do this by just sieving off the old, unwanted, fermented milk and topping up with lots of new milk (4 cups). Keep it in the fridge to slow growth.
I am here to help, if I can. Please do get in touch. Throughout January 2019 I am offering a free, no-obligations 20 minute chat to discuss any of the issues we have looked at. I have really enjoyed putting this series together for you and I hope you have enjoyed it as much too.
To your very good health, Dawn.